
So, you’re thinking about starting a podcast, or maybe just making your current one sound a whole lot better. That’s awesome! Picking the right podcast microphone can feel a bit overwhelming at first, with all the different types and fancy words out there. But don’t sweat it. We’re here to break it all down for you, from understanding what makes a mic good to actually getting it set up in your recording space. Think of this as your friendly guide to finding that perfect podcast microphone that’ll make your voice sound amazing.

So, you’re thinking about diving into the podcasting world, huh? Awesome! But before you start brainstorming hilarious episode titles or planning your guest list, let’s talk about the unsung hero of your audio empire: the microphone. You might be thinking, “Does it really matter? Can’t I just use the one built into my laptop?” Well, let me tell you, your voice deserves better than a tin can and a string. Imagine listening to your favorite podcast, and it sounds like the host is broadcasting from the bottom of a well. Not exactly captivating, right? That’s where a good microphone swoops in to save the day. It’s not just about sounding okay; it’s about sounding great. Think of it as the difference between a blurry, low-res photo and a crisp, high-definition image. Your listeners will thank you, and frankly, your ears will too. It’s the first step to making sure your brilliant ideas don’t get lost in a sea of static and muffled sounds. Getting the right gear from the start means less fiddling later and more time actually creating awesome content. It’s all about making sure your message comes through loud and clear, without any unwanted audio guests crashing your party.
Look, we all have that one friend whose phone call sounds like they’re underwater. You probably don’t stick around for those calls for too long, do you? The same principle applies to podcasts. If your audio quality is subpar, people will click away faster than you can say “subscribe.” A decent microphone isn’t just a piece of equipment; it’s an investment in your listener’s experience. It shows you care about what you’re putting out there and that you respect their time. Plus, let’s be honest, it makes you sound way more professional, which can be a big deal when you’re trying to build a following or attract guests. It’s the foundation of good audio, and without it, everything else you do might just fall flat.
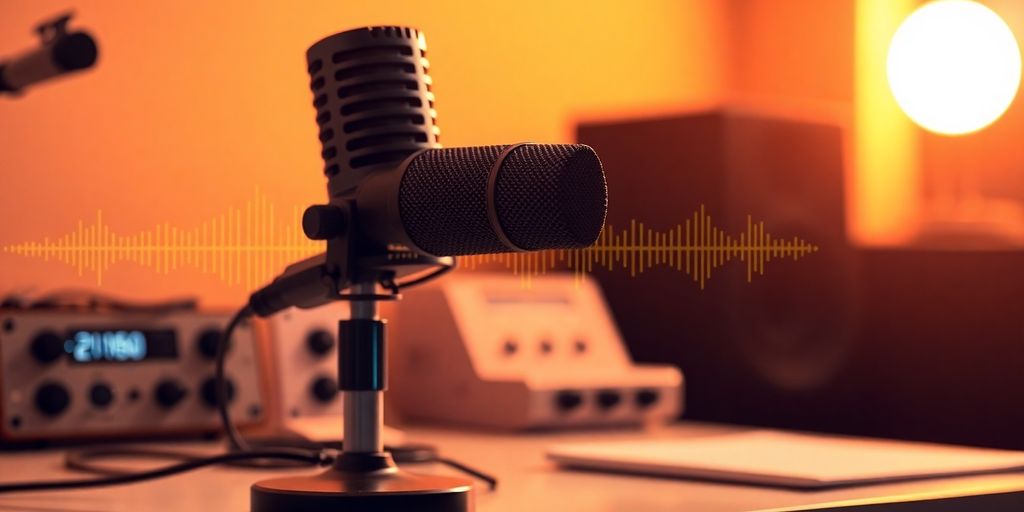
When it comes to podcasts, sound quality isn’t just important; it’s pretty much everything. People are tuning in to hear you, not to decipher a garbled mess. A microphone is your primary tool for capturing your voice, and the better it is, the clearer and more engaging your audio will be. We’re talking about capturing all the nuances of your speech, from the subtle inflections to the powerful pronouncements. A good mic can make even a simple conversation feel intimate and present, drawing your listeners in. It’s the difference between a casual chat and a broadcast-quality performance. You want your audience to feel like they’re right there in the room with you, and that starts with crystal-clear audio. This is why choosing the right podcasting microphone is so critical for success.
Nobody wants to listen to a podcast that sounds like it was recorded in a metal bucket. Seriously, it’s the quickest way to lose listeners. You’ve poured your heart and soul into your content, so don’t let bad audio quality sabotage all your hard work. Think about it: you could have the most groundbreaking ideas, the wittiest banter, and the most compelling stories, but if your voice sounds like it’s coming through a cheap walkie-talkie, people will tune out. Investing in a decent microphone means you’re respecting your audience and giving them the best possible listening experience. It’s about making sure your message is heard, not just endured. So, ditch the tin can sound and give your voice the clarity it deserves.
So, you’re ready to ditch that tinny sound and actually sound like you know what you’re doing. Awesome. But before you grab the first shiny thing you see, let’s talk about the guts of the operation: the microphone itself. It’s not just a fancy talking tube; it’s how the world hears your genius.
Think of dynamic mics as the tough guys. They’re built like tanks, don’t need any extra juice (like phantom power), and are pretty good at ignoring background noise. This makes them a solid choice if your recording space isn’t exactly a soundproof studio. They’re also great for loud sources, so if you’ve got a booming laugh or a guest who likes to shout, a dynamic mic can handle it. Condenser mics, on the other hand, are the sensitive artists. They need that phantom power we’ll talk about later, but they capture a lot more detail and nuance in your voice. If you’ve got a quiet, treated room and want that super crisp, professional sound, a condenser might be your jam. They’re generally more sensitive, so they’ll pick up everything – the good, the bad, and the neighbor’s dog barking.
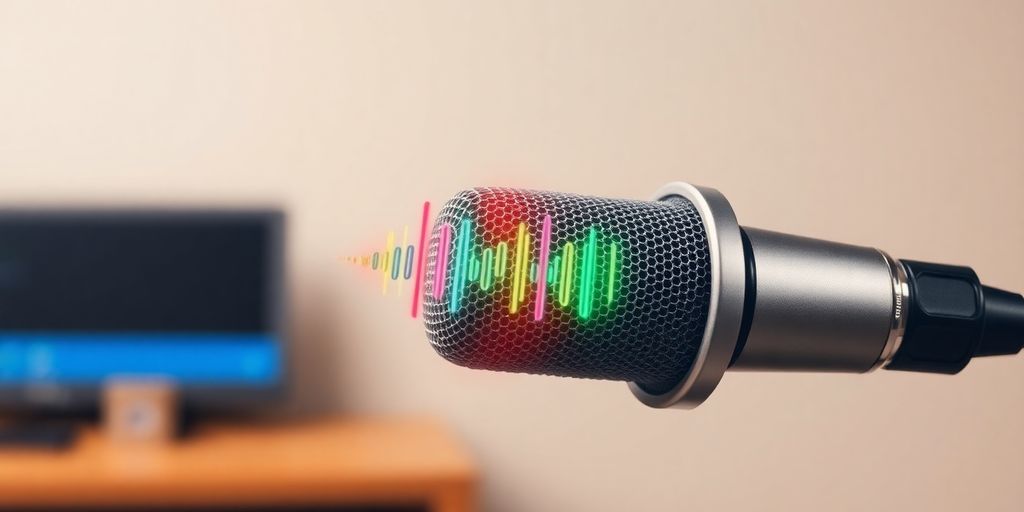
Most mics you’ll look at for podcasting will have a cardioid pickup pattern. What does that mean? Basically, it’s like the mic has a favorite direction: straight ahead. It’s designed to pick up sound from the front and reject sound from the sides and, especially, the back. This is your best friend for keeping your voice front and center and ignoring all the other junk happening in your room. Think of it as a spotlight for your voice. It’s why these are so popular for solo podcasters or even interviews where you can position the mics just right.
Now, if cardioid is a spotlight, super cardioid is like a laser pointer. It narrows the pickup pattern even further, meaning it’s even better at rejecting sound from the sides. However, it does pick up a little bit of sound from directly behind the mic. This pattern is great if you’re in a slightly noisier environment and really need to isolate your voice. It’s a bit more specialized, but can be a lifesaver if you’re dealing with a less-than-ideal recording space. Choosing the right pattern can make a huge difference in how clean your final audio sounds, even before you start editing. It’s all about getting the best possible sound right from the source, and understanding these patterns is a big step towards that goal. If you’re looking for recommendations, check out this list of podcast recommendations for 2026.
Remember, the ‘best’ mic isn’t always the most expensive one. It’s the one that fits your voice, your recording environment, and your budget. Don’t get caught up in the hype; focus on what actually works for you.
Here’s a quick rundown:
Alright, let’s talk about the moolah. You’ve got this awesome podcast idea brewing, and you’re ready to make it a reality. But before you start dreaming of ad revenue, we need to get real about your budget. Picking the right microphone isn’t just about getting the cheapest thing you can find; it’s about finding that sweet spot where quality meets your wallet. Don’t let sticker shock send you running for the hills – there are fantastic options at every price point.
This is where most beginners find their happy place. You can snag some seriously decent mics in this range that will make your voice sound way better than your laptop’s built-in mic. Think dynamic mics like the Samson Q2U or the Audio-Technica ATR2100x-USB. These are workhorses, often offering both USB and XLR connections, giving you flexibility as you grow. They’re great at rejecting background noise, which is a lifesaver if you’re not recording in a perfectly soundproofed studio (who is, really?). You’ll get a clear, present sound that’s more than good enough to get your podcast off the ground. For a bit more, you might even find a decent condenser mic, but be mindful of room noise with those.
Ah, the Shure SM7B. It’s practically a legend in podcasting circles. If you’ve got the cash and you’re serious about that broadcast-quality sound, then maybe. This mic is a dynamic mic known for its smooth, warm tone and its ability to handle loud sources without distortion. It’s also fantastic at isolating your voice and rejecting room noise. However, it’s not a plug-and-play situation. You’ll need a good audio interface or a preamp with plenty of clean gain to really make it sing, which adds to the overall cost. So, before you drop serious cash, ask yourself if your podcast really needs that level of polish right now. Sometimes, a more affordable mic paired with good recording technique and a bit of post-production magic can get you surprisingly close.
It’s easy to get caught up in the gear chase. You see all these fancy mics and think you need the most expensive one to sound professional. But here’s a little secret: a great podcast is made with more than just a mic. Your recording environment, your speaking technique, and how you edit your audio all play huge roles. Buying a super-sensitive condenser mic when you’re in a noisy apartment might just pick up more of the annoying sounds you’re trying to avoid. Likewise, investing in a $500 mic when you don’t have a decent audio interface or headphones is like putting racing tires on a bicycle. Focus on getting a solid, reliable mic that fits your current setup and budget, and then work on mastering the other aspects of podcast production. You can always upgrade your gear later as your podcast grows and your needs become clearer. Check out these best podcast microphones for all budgets to get started.
So, you’ve picked out a microphone that makes your voice sound like a million bucks. Awesome! But how do you actually get that glorious sound from your mic into your computer? That’s where the connection comes in, and trust me, it’s not as complicated as it sounds. Think of it as the bridge between your awesome voice and your listeners’ ears.
This is the easiest route, like taking the highway. Most modern mics, especially the popular ones for beginners, use USB. You just grab a USB cable, plug one end into your mic, and the other into your computer. Boom. Done. Your computer usually recognizes it right away, and you can start recording. It’s super straightforward, which is great when you just want to get your ideas out there without fussing with a bunch of wires. USB mics are your go-to for simplicity and speed. They’re perfect if you’re just starting out or if you want a no-muss, no-fuss setup. You can even find some pretty decent USB mics that connect directly to your computer without an audio interface.
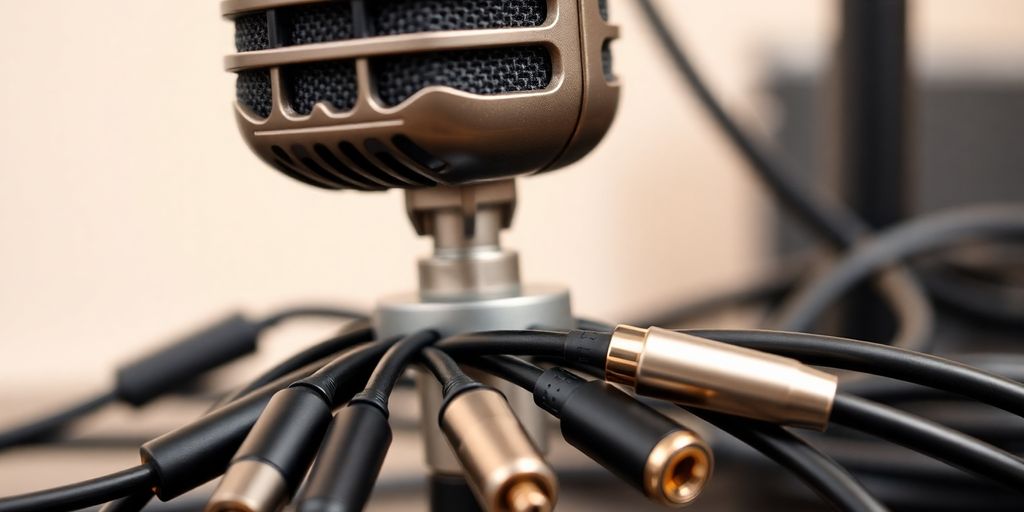
Now, if you’re aiming for that super-pro sound, you’ll likely be looking at XLR microphones. These use a different kind of cable – the chunky, three-pin kind that looks a bit like a microphone’s natural habitat. XLR mics don’t plug directly into your computer. Nope. They need a middleman, usually an audio interface or a mixer. This setup gives you more control and often better sound quality, but it does add a few more steps. You’ll need that interface, an XLR cable, and then you connect the interface to your computer via USB or Thunderbolt. It might sound like a lot, but it opens up a world of possibilities for your sound.
Okay, so you’ve got an XLR mic and maybe an audio interface. Now you might see a button labeled “+48V” or “Phantom Power.” What’s that all about? Well, some microphones, specifically condenser mics (we’ll get to those!), need a little extra juice to work. Phantom power is basically a small electrical charge sent through the XLR cable from your interface or mixer to power these mics. Dynamic mics, the tougher, more common type, usually don’t need it. So, if you’re using a condenser mic, you’ll likely need to flip that phantom power switch on. If you’re using a dynamic mic, you can usually leave it off. It won’t hurt your dynamic mic, but it’s just not necessary. It’s like giving your mic a tiny energy drink so it can perform at its best.
So, you’ve got your shiny new microphone, but where do you actually put it? It’s not just about pointing it vaguely in your direction. Think of your mic like a picky eater; it wants things just so. Getting the placement right can be the difference between a voice that sounds like it’s coming from a tin can in a well, or one that’s smooth as butter.
Every microphone has a ‘sweet spot’ – that magical zone where it captures your voice with the most clarity and warmth. For most podcast mics, this is usually about 4 to 6 inches away from your mouth. But here’s the kicker: it’s not a one-size-fits-all deal. You’ll need to experiment a bit. Try moving closer, then further away, and listen to the difference. Finding this sweet spot is probably the single most impactful thing you can do for your audio quality. It’s like finding the perfect angle for a selfie, but for your voice.
Ah, plosives. Those nasty ‘p’ and ‘b’ sounds that can make your audio sound like a tiny explosion. They’re the bane of every podcaster’s existence. The easiest way to combat them? Don’t aim the mic directly at your mouth. Try positioning it slightly off to the side, maybe at a 45-degree angle. You can also use a pop filter – that little screen that attaches to your mic stand. It’s a simple tool, but it works wonders. Think of it as a tiny bouncer for your ‘p’ sounds.
Your recording space matters, a lot. If you’re recording in a room with a lot of hard, flat surfaces (think bare walls, tile floors), your voice will bounce around like a ping pong ball, creating an echoey mess. This is where your recording environment can really mess things up. To fix this, you want to add soft, sound-absorbing materials. Blankets, pillows, even a thick rug can make a surprising difference. If you’re serious about sound, you might look into acoustic foam panels, but start with what you have. Even hanging a few heavy blankets around your recording area can significantly cut down on reflections. It’s all about making your space less ‘echoey’ and more ‘cozy’ for your voice. If you’re looking for ways to improve your faith journey, consider exploring Bible study podcasts for 2026.
So, you’ve snagged yourself a shiny new microphone. Awesome! But just having it isn’t enough, right? You gotta make it sing. Think of it like getting a fancy sports car – you wouldn’t just leave it in the garage, would you? You gotta learn how to drive it, tune it up, and really get it purring.
First things first, let’s talk about getting your voice sounding just right. It’s all about finding that sweet spot. You know, that magical distance between your mouth and the mic where you sound like a broadcast pro, not someone shouting from the bottom of a well. Experimenting is key here. Try getting a little closer, then a little further back. Angle it slightly. Your voice is unique, and your mic needs to be positioned to capture its best qualities. You might also want to grab a pop filter. Seriously, these things are cheap and they save you from those embarrassing “P” and “B” sounds that sound like a tiny explosion in your audio. It’s a simple fix for a common problem.
We’ve all been there – you buy something, and then you realize you’re not using it to its full potential. Don’t let that happen with your mic! Think about accessories that can really make a difference. A good mic stand, for instance, can prevent those annoying desk thumps from ruining your recording. And if you’re using an XLR mic, don’t forget about phantom power – it’s like a little energy boost your mic might need. Making sure you have the right cables and adapters also means you won’t be scrambling mid-recording.
Okay, so you’ve got your mic sounding great. What’s next? Well, think about where you’re headed. Are you planning to add more mics down the line? Maybe you want to start interviewing guests in person? Consider if your current setup can grow with you. For example, if you started with a USB mic, but now you’re eyeing an XLR setup, you’ll need to factor in an audio interface. It’s not about buying everything at once, but about making smart choices now that won’t box you in later. Think about your long-term podcasting goals and make sure your gear can keep up. You want to be able to enhance your podcast’s audio quality without having to replace everything every year.
Want your podcast to sound amazing? Getting the right sound from your microphone is super important. We’ve got tips to help you make your voice shine. Want to learn more about making your podcast sound its best? Visit our website for all the secrets!
Alright, you’ve waded through the tech talk and hopefully picked out a microphone that won’t make your voice sound like it’s coming from the bottom of a well. Remember, even the fanciest mic won’t magically fix a bad recording space, so maybe try putting a blanket over your head or something. Seriously though, a decent mic is a big step. Now go forth and record something awesome, or at least something that doesn’t make your listeners want to hit mute. And hey, if you found this helpful, maybe check out our actual podcast – it sounds pretty good, if I do say so myself.
Think of your voice as the star of your podcast! A good mic helps your voice sound clear and professional, like you’re talking right next to your listener. A bad mic can make you sound far away or muffled, which makes people tune out.
For most beginners, spending between $50 and $150 is a great starting point. You can find really good mics in this range that sound fantastic without costing too much. If you have more cash to spend, you can get even better sound, but it might be more than you need at first.
USB mics are super easy – you just plug them into your computer and start recording. XLR mics are a bit more involved; you usually need an audio interface or mixer to connect them, but they often give you more control and better sound quality if you get into it.
A cardioid pattern is usually best for podcasts. It means the mic picks up sound mostly from the front, where your mouth is, and ignores sounds from the sides and back. This helps cut down on background noise like fans or people talking in another room.
Yes, mic placement is a big deal! Try to position the mic a few inches from your mouth, slightly off to the side, to avoid those harsh ‘P’ and ‘B’ sounds (called plosives). Also, experiment with the distance to find the clearest sound without picking up too much room noise.
Definitely! Even with a good mic, you can make it sound even better. Try adjusting the volume levels, maybe adding a pop filter to stop those breathy sounds, and making sure your recording space doesn’t have a lot of echo. Small tweaks can make a huge difference.
