You’ve got a Mac, and sometimes you just need to show someone what’s happening on your screen. Maybe you’re explaining a tricky process, sharing a cool discovery, or giving feedback. Whatever the reason, learning how to screen record on Mac is a super useful skill. You don’t need fancy software or a degree in tech to get started. We’ll walk you through some simple ways to capture your screen, so you can share what you see with others.
So, you want to record your Mac screen? Maybe you’re trying to show a friend how to do that one tricky thing on an app, or perhaps you’re putting together a quick demo for work. Whatever the reason, you’ve come to the right place. Recording your screen on a Mac used to feel like a secret handshake, but Apple’s made it surprisingly simple. Let’s dive into the easiest ways to get your screen captured without pulling your hair out.
Forget downloading fancy software for a sec. Your Mac has a built-in screen recording tool, and it’s probably already hiding in plain sight. All you need to do is press Command + Shift + 5 simultaneously. Seriously, try it. A little toolbar will pop up at the bottom of your screen, looking all official and ready to go. It’s like your Mac’s way of saying, “Don’t worry, I got this.”
From this toolbar, you have a few options:
Before you hit record, there’s a handy “Options” button. This is where you can decide where your recording will be saved (Desktop is the default, but you can change it), set a timer if you need a few seconds to get your ducks in a row, and even choose if you want to include microphone audio. It’s pretty straightforward, and honestly, it handles most basic needs like a champ.
The built-in tool is fantastic for quick, no-fuss recordings. It’s there when you need it, and it doesn’t ask for anything in return. Just remember to check your “Options” before you start if you have specific needs, like saving the file somewhere other than your Desktop.
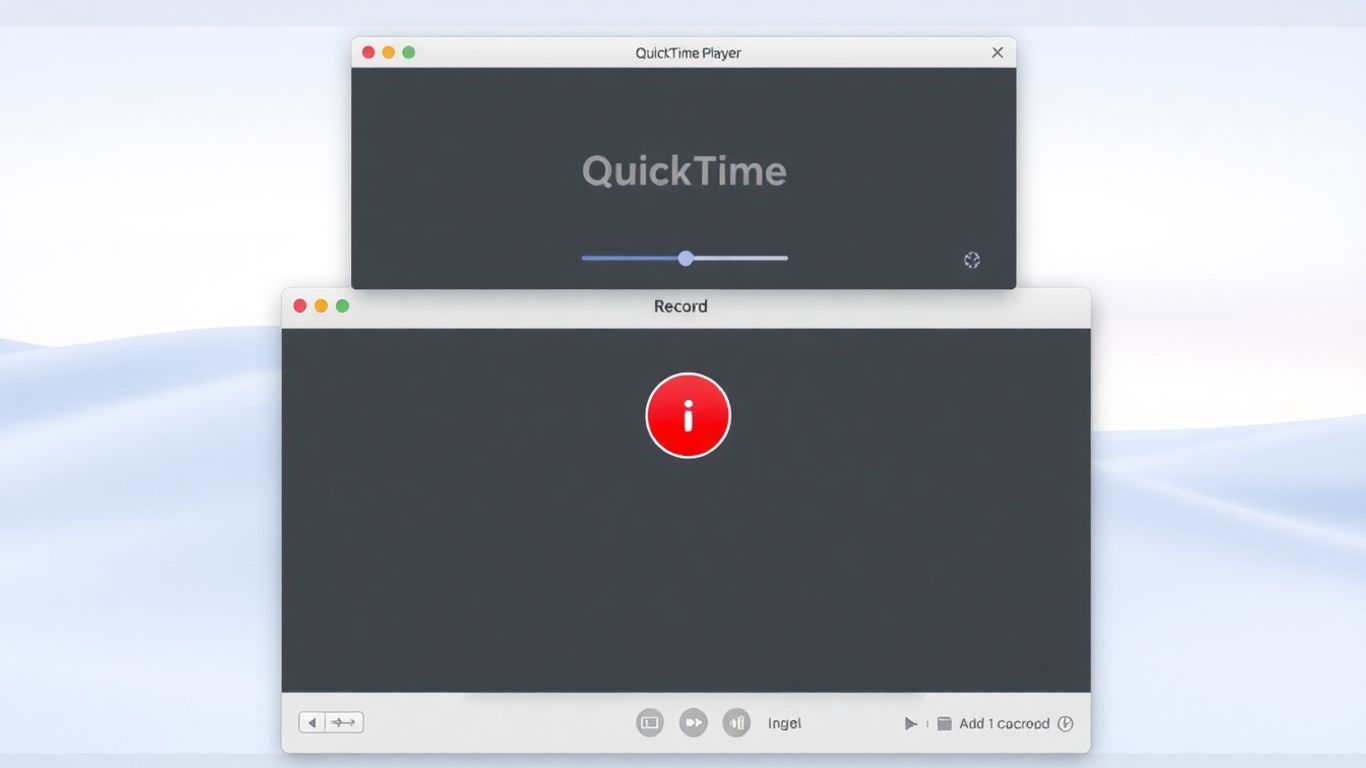
If Command + Shift + 5 feels a bit too much like a secret code, QuickTime Player is another super simple, built-in option. It’s been around forever, and it’s great for those moments when you just need to record something quickly without any fuss. Think of it as the reliable friend who always shows up on time.
Here’s the drill:
Once you’re done, you’ll have a new QuickTime window open with your recording. You can then save it from there. It’s incredibly basic, but that’s often its strength. No complicated settings, no extra steps – just record and save.
Okay, so you’ve recorded your screen, and maybe it’s not perfect. Perhaps there was a little stumble, or you want to trim off the beginning and end. Good news: QuickTime Player isn’t just for recording; it can handle some basic editing too. It’s not going to win any awards for its editing suite, but for simple cuts, it’s surprisingly capable.
After you’ve saved your recording in QuickTime Player:
It’s not fancy, but it gets the job done for removing those awkward pauses or accidental clicks. You’re basically turning that raw footage into something a bit more polished without ever leaving the QuickTime app. Pretty neat, right?
So, you’ve mastered the built-in Mac tools, huh? Feeling like a screen recording wizard? That’s awesome! But what if you need a little more pizzazz, a bit more polish, or just a way to make your life easier? Don’t worry, we’ve got you covered. There are some fantastic third-party apps out there that can take your recordings from ‘meh’ to ‘wowza!’
Think of Riverside as your all-in-one recording command center. It’s not just for screen recording; it’s designed to make your videos look and sound professional, even if you’re recording from your kitchen table. It’s super handy for recording yourself and your screen at the same time, which is great for tutorials or presentations where you want to be on camera too. Plus, it records everything in high quality, so you don’t lose any detail. It’s like having a mini Hollywood studio right in your browser.
Alright, let’s talk about OBS Studio. This one’s a bit of a beast, but in a good way. It’s free, it’s open-source, and it’s packed with features that even seasoned pros use. If you’re into streaming, making complex tutorials, or just want to have total control over every little detail of your recording, OBS is your jam. It has a bit of a learning curve, sure, but the payoff is huge. You can mix audio sources, add multiple video inputs, and create really dynamic scenes. It’s definitely more involved than the built-in tools, but if you’re looking to seriously up your game, it’s worth exploring.
Sometimes, you just need to record something quickly and share it without a fuss. That’s where Loom shines. It’s super user-friendly and makes recording and sharing a breeze. You can record your screen, your webcam, or both, and then instantly get a shareable link. It’s perfect for those quick explanations to your team or sending a video message to a friend. Loom also has some neat features like trimming your videos and even AI tools to clean up filler words, which is pretty wild. If you want something that’s powerful but still incredibly simple to use, Loom is a fantastic choice.
So, you’ve mastered the art of capturing your Mac’s screen, but suddenly, your masterpiece is as silent as a mime convention. What gives? It’s a common hiccup, and honestly, it can be a real buzzkill when you realize your epic tutorial is missing its soundtrack. Let’s figure out why your Mac screen recording might be playing the quiet game and how to fix it.
Here’s the deal: macOS’s built-in screen recorder is a bit picky about audio. It’s fantastic at grabbing your microphone’s voice – you know, your dulcet tones explaining the intricacies of your spreadsheet. But when it comes to capturing the sounds coming out of your Mac’s speakers (like that awesome YouTube video you’re demonstrating or the audio from a webinar), it often draws a blank. It’s like it has selective hearing. You might have your volume cranked up, but the recording software just isn’t tuned into that frequency. This is especially true if you’re using the Command + Shift + 5 tool; it’s designed to capture external audio (your mic) but not internal system audio by default.
Alright, so how do you get that sweet, sweet system sound into your recording? If you’re sticking with the built-in tools, it’s not as straightforward as flipping a switch. You’ll likely need a little help from a third-party app. Think of it as giving your Mac’s audio recorder a special adapter. Many apps are designed to bridge this gap, allowing you to capture both your microphone and the audio playing from your computer simultaneously. This is super handy for creating tutorials where you need to explain something while also playing a clip or demonstrating software with its own sound effects.
Don’t let a silent recording haunt your dreams. With a few tweaks or the right app, you can have your Mac singing along to your screen recordings in no time. It just takes knowing where to look (or what to download).
If you’re tired of wrestling with audio settings and just want a reliable way to get both your voice and your Mac’s system sounds into your recordings, you might want to give Riverside a whirl. It’s designed to handle this kind of thing without making you feel like you need a degree in audio engineering. When you record with Riverside, it’s smart enough to capture your microphone input and the audio coming from your computer. This means you can create polished videos with clear narration and all the necessary background sounds, all from one place. It simplifies the whole process, letting you focus on what you’re actually recording instead of fiddling with settings.
So, you’ve hit record, feeling like a digital wizard, only to find your masterpiece is silent, choppy, or just plain missing. Don’t sweat it! Even the slickest Mac users run into a few hiccups. Let’s sort out these common screen recording gremlins so you can get back to creating.
Ever get that dreaded “Permission Denied” message, or worse, nothing happens at all? Sometimes, your Mac is just being a bit overprotective. It might not be letting the recording app access your screen or microphone. It’s like trying to get into a VIP club without the right wristband.
System Settings > Privacy & Security > Screen Recording. Make sure the app you’re using has a little toggle switch turned ON. If it’s not there, you might need to add it.You finish your epic recording, pat yourself on the back, and then… poof! Where did it go? It’s a classic tale. By default, your Mac likes to stash these files on your Desktop or in your Downloads folder. But if you’ve been playing around with settings, it could be anywhere.
Is your recording looking more like a slideshow than a smooth video? Or is it stopping halfway through? Your Mac might just be feeling a little overwhelmed. Recording your screen, especially with audio and other apps running, can be demanding.
Alright, you’ve got the tools, you’ve got the know-how, but are you ready to go from a screen recording amateur to a bona fide digital maestro? It’s time to polish those performances and make your recordings shine brighter than a freshly cleaned iPhone screen. Let’s get you ready for your close-up.
Seriously, don’t just wing it. You wouldn’t go on stage without knowing your lines, right? Your screen recording deserves the same respect. Before you even think about hitting that record button, jot down what you want to say and show. This doesn’t mean a word-for-word script (unless that’s your jam), but a clear outline of your points and the steps you’ll demonstrate. This little bit of prep work will save you from those awkward “uhms,” long pauses, and the dreaded “Wait, what was I doing?” moments. It’s like having a roadmap for your digital journey, preventing you from getting lost in the weeds. A well-planned recording is a smooth recording, and a smooth recording is a happy viewer.
Nobody wants to watch a screen recording that feels like it’s going on forever. Think of your audience’s attention span – it’s probably shorter than you think, especially online. If your tutorial or explanation is naturally going to be a bit lengthy, consider breaking it down into smaller, digestible chunks. A 15-minute epic can often be better served as three 5-minute videos. This makes it easier for people to find the specific information they need and less likely they’ll click away out of boredom. Brevity is the soul of wit, and in screen recording, it’s the soul of engagement. Plus, shorter recordings are quicker to edit and upload. It’s a win-win-win.
Sometimes, just pointing at something on screen isn’t enough. You need to make sure your audience sees exactly where you’re clicking, what you’re typing, and how you’re navigating. Many screen recording tools, including the built-in Mac options, allow you to highlight your mouse cursor or show click animations. Make sure you enable these features! It’s like putting a spotlight on your actions. If you’re demonstrating software, for instance, visually indicating your clicks can prevent confusion and guide your viewers more effectively. It transforms a passive viewing experience into an active one, where your audience can easily follow along. For more advanced highlighting, you might look into tools that allow for on-screen annotations during or after recording, turning your simple capture into a polished tutorial. You can find great options for this when you explore screen recording tools.
Want to make your screen recordings look super professional, like a total pro? We’ve got some awesome tips to help you record your screen like a rockstar! These tricks will make your videos shine. Ready to level up your recording game? Check out our website for more cool ideas and guides!
Alright, you’ve officially leveled up your Mac game. Whether you used the trusty built-in tools or dabbled with some fancy third-party apps, you’re now ready to capture anything your screen throws at you. Go forth and record your brilliant ideas, hilarious fails, or that one time your cat walked across the keyboard. Just remember, with great screen recording power comes great responsibility… or at least, the responsibility to share your cool creations with us! Don’t forget to check out our other posts for more tech wizardry.
Absolutely! Your Mac comes with a built-in tool that lets you record your screen without any extra cost. Plus, there are other free options like OBS Studio and Loom that offer even more features.
The fastest method is using the keyboard shortcut Command + Shift + 5. This brings up a handy toolbar with all the options you need to start recording your entire screen or just a part of it.
By default, some Mac recording tools don’t capture sound from your computer. To fix this, you might need to select your microphone in the recording options. For a simpler solution, tools like Riverside can record your system audio automatically.
When you use the built-in tool, your recordings usually save to your Desktop. You can usually choose a different spot to save them before you start recording, often through an ‘Options’ menu.
The built-in Mac tools are pretty basic and don’t offer much editing. However, QuickTime Player lets you do simple edits like trimming clips. For more advanced editing, you might want to try apps like OBS Studio or Loom.
You can definitely do this! When you set up your recording, look for an ‘Options’ menu. There, you should be able to select your microphone to capture your voice along with what’s happening on your screen.
