Thinking about starting a podcast but your guests are miles away? Recording a podcast remotely might sound tricky, but it’s actually more straightforward than you think. With the right approach, you can capture clear audio and video without everyone needing to be in the same room. This guide will walk you through the simple ways to get your podcast recorded, no matter where your co-hosts or interviewees are.
So, you’ve got this brilliant podcast idea, or maybe you’ve already got a show going, but your dream guest is, well, not exactly next door. Perhaps they’re across town, across the country, or even across the pond. Don’t sweat it! Recording a podcast remotely is totally doable, and honestly, it’s become pretty darn common. Think of it as a podcasting adventure where your studio is wherever you and your guest happen to be.
When it comes to recording from afar, you’ve got a few paths you can take. It’s not a one-size-fits-all situation, so let’s look at the main ways you can get this done. Each has its own quirks, like a quirky uncle at a family reunion.
If you’re someone who obsesses over every little pop and hiss, the double-ender might be your jam. Basically, you and your guest hit record on your own machines. This way, you’re not relying on the internet to carry the audio signal live. You get a clean, local recording from each end. Later, you can combine these pristine tracks. It’s like getting two separate, high-quality photos of the same thing and then stitching them together for the best possible panorama. It takes a little more work on the back end, but the audio quality can be top-notch.
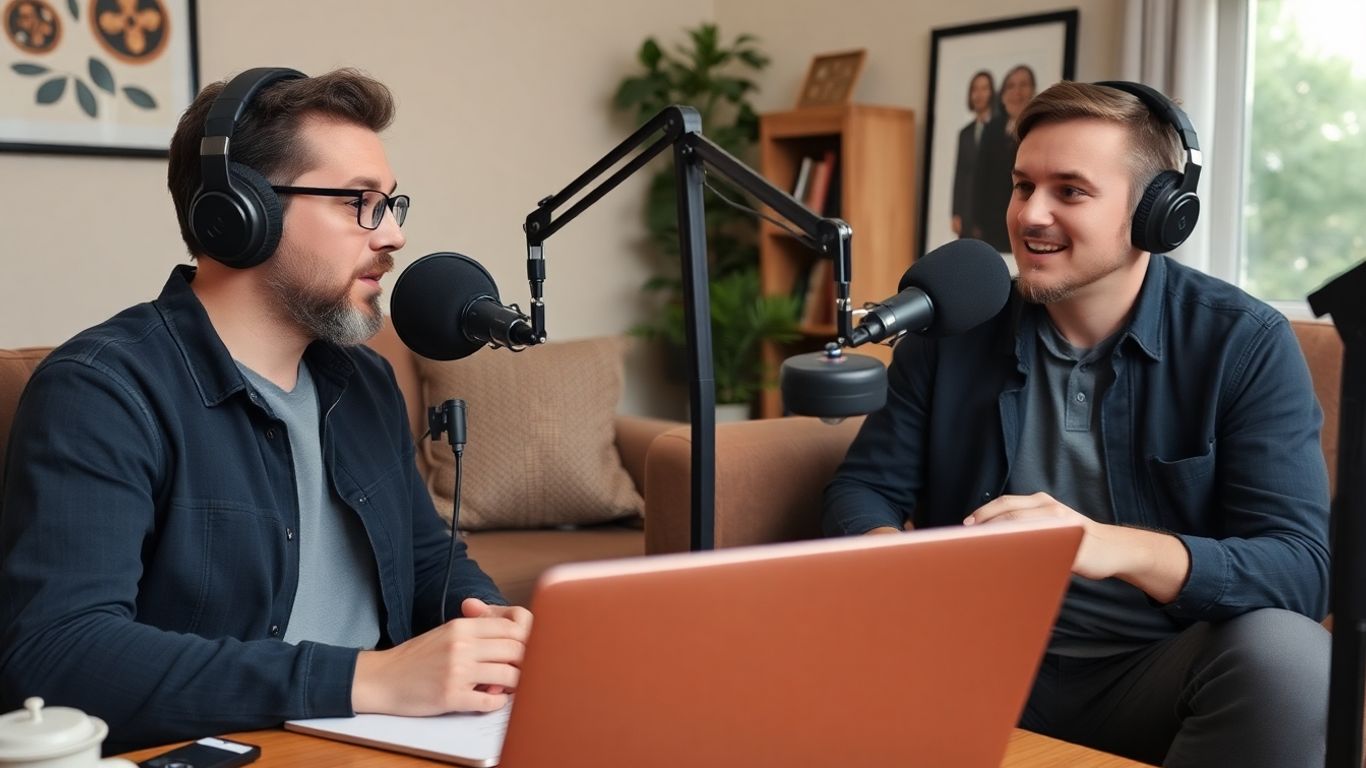
Let’s be real, sometimes the easiest way is the best way. Video conferencing tools like Zoom are fantastic for keeping things simple. You can see your guest’s face, which adds a whole other layer to the conversation. It feels more natural, more like you’re actually in the same room. Just remember to tell everyone to try and find the quietest spot they can. Seriously, that barking dog or the washing machine in the background can really mess with the vibe. It’s all about making the tech work for you, not the other way around.
Alright, so you’ve decided to take your podcasting dreams global, or at least to your guest’s living room. That’s awesome! But before you start picturing yourself as the next big podcasting sensation, we need to talk about the tools of the trade. Think of this as your podcasting starter pack. You don’t need a Hollywood studio, but a few key pieces of gear will make a world of difference. Let’s get you kitted out!
Look, your laptop’s built-in mic is like trying to win a race on a tricycle. It can move, but it’s not going to win any awards. You need something that actually captures your voice with some oomph. For remote recording, a good USB microphone is your best bet. They’re usually pretty straightforward – plug it in, and you’re basically good to go. They sound way better than your computer’s mic, and most guests can handle plugging one in without needing a degree in engineering.
Some popular and user-friendly options include the Samson Q2U or the Audio-Technica ATR2100x-USB. They’re workhorses and won’t break the bank.
Seriously, don’t skip this. You need headphones. Why? Two big reasons. First, they stop your microphone from picking up the sound coming out of your speakers, which causes that awful echo effect. Nobody likes listening to a podcast that sounds like it’s being recorded in a tin can at the bottom of a well. Second, they let you actually hear what you and your guest sound like in real-time. You can catch weird noises, adjust your levels, and generally make sure things aren’t sounding like a train wreck.
Go for a comfortable, closed-back pair. This means they cover your ears and create a bit of a seal. This helps block out outside noise and prevents your voice from bleeding back into the microphone. The Sony MDR-7506 is a classic for a reason, but any decent pair that fits well and stays put will do the job.
Ever heard a podcast where someone says a word with a ‘P’ or ‘B’ and it sounds like a tiny explosion? That’s called a plosive, and it’s the arch-nemesis of clear audio. A pop filter is a simple, inexpensive screen that attaches to your microphone. It sits between your mouth and the mic, diffusing those harsh bursts of air before they hit the diaphragm. It’s a small addition that makes a surprisingly big difference, especially if you tend to speak with a bit of gusto. It also helps keep your mic a little cleaner, which is a nice bonus.
Your Remote Recording Checklist:
Remember, the goal here is clear audio. While fancy gear is cool, focusing on getting a good sound from your guest with simple, reliable equipment is the real win. Don’t overcomplicate things!
Alright, so you’ve picked your recording adventure and maybe even snagged some gear. Now, let’s talk about where you’re actually going to do this thing. Think of your recording space as your podcast’s cozy little home. It doesn’t need to be a fancy studio with soundproof booths (unless you’ve got one lying around, in which case, show off!). It just needs to be a place where you can minimize the chaos and sound, well, good.
First things first: quiet. This is your number one mission. Turn off the TV, tell your family or roommates you’re entering the ‘podcast zone’ (maybe with a secret handshake?), and silence those notifications. That hum from the air conditioner? Turn it off. The fridge kicking in? Hope it’s not too loud. The goal is to eliminate as much background noise as humanly possible. Even a seemingly quiet room can have hidden sound culprits. Listen carefully before you hit record. Is there a dog barking next door? A car alarm that goes off every hour? Try to anticipate these sound saboteurs and find a spot that’s as free from them as you can.
Okay, so you don’t have industrial-grade soundproofing foam. No worries! You can get creative. Think soft things. Soft things absorb sound. Blankets, pillows, even a pile of clothes can help dampen echoes. If you’re recording in a room with hard surfaces (like a kitchen or bathroom – please, no!), try draping blankets over windows or even hanging them on walls temporarily. A walk-in closet, surprisingly, can be a fantastic, albeit cramped, recording booth because all those clothes are already doing the sound-absorbing work for you. Just make sure you can breathe!
This one’s simple but often overlooked. You need to signal to the outside world that you are busy creating audio magic. A physical ‘Do Not Disturb’ sign on your door is a classic for a reason. It’s a visual cue that says, ‘I am recording, and interruptions will result in awkward silences and potential retakes.’ If you’re sharing your space, make sure everyone knows the drill. A quick text message saying, ‘Recording for the next hour, please no knocking!’ can go a long way. It’s all about setting expectations and minimizing those surprise guest appearances from family members or pets.
Remote Recording Checklist: Setting the Scene
Alright, you’ve got your gear, you’ve found your quiet corner (or at least a corner that’s less noisy), and your guest is prepped. Now comes the moment of truth: hitting that big, beautiful record button. It sounds simple, right? Just press it and go. But like anything in podcasting, there’s a little bit of finesse involved to make sure you don’t end up with a recording that sounds like it was captured during a hurricane.
Before you even think about pressing record, you need to do a little dance. This isn’t just about making sure the tech is working; it’s about getting everyone in the zone. First things first, a sound check. Ask your guest to say something – anything! – and listen back. Are the levels okay? Is there any weird buzzing or background noise? A quick sound check can save you hours of editing later. You want to make sure everyone sounds clear and present, not like they’re broadcasting from the bottom of a well.
Beyond the technical stuff, do a quick sanity check. Chat for a minute about how you’re both feeling. Are you ready? Is your guest comfortable? Sometimes just a few minutes of casual conversation can help ease any nerves and get you both in a more natural headspace. This is also a good time to remind your guest to wear their headphones if they aren’t already – seriously, this is a big one for preventing echo.
Once you’re rolling, try to relax. The more natural you are, the more natural your guest will be. Don’t be afraid of a little silence; sometimes, letting a thought breathe is better than filling the space with filler words. If you mess up, don’t panic! Just pause for a second, maybe make a little note (mental or physical) of where it happened, and then jump back in. Most editing software can easily snip out those little flubs. Remember, you’re aiming for a conversation, not a flawless recitation.
Keep an eye (or ear) on your audio levels if you can. If someone is suddenly shouting or whispering, you might need to make a quick adjustment. But don’t obsess over it; your main job is to keep the conversation going and make your guest feel heard. Think of yourself as a conductor, guiding the orchestra, but also enjoying the music.
Murphy’s Law is that sneaky little rule that says if something can go wrong, it will, and usually at the worst possible moment. In podcasting, this often means your recording file mysteriously corrupts, your internet connection decides to take a nap, or your hard drive spontaneously combusts. Okay, maybe not the last one, but you get the idea.
This is why having a backup is non-negotiable. If you’re using remote recording software that records locally on each person’s computer, that’s a great start. But what if that computer crashes? Consider using a secondary recording method. This could be as simple as having your guest record their audio on their phone’s voice memo app while you record on your computer. Or, if you’re using a platform like Zoom, make sure you’re also recording that session as a backup, even if the quality isn’t as pristine. It’s better to have a slightly lower-quality backup than no backup at all. You can even use AI podcast summarizers to help you quickly identify key moments from your backup recordings if needed.
Here’s a quick checklist to keep handy:
Don’t let the fear of technical glitches paralyze you. The most important thing is to have a good conversation. Technology is there to help, but it’s the content and connection that truly matter. Embrace the imperfections; they often make a podcast more human and relatable.
Alright, you’ve wrangled your remote guests, hit record like a champ, and now you’re staring at a pile of audio files. Don’t panic! This is where the real magic happens, turning those raw recordings into a podcast that sounds like you actually know what you’re doing. Think of it as sculpting – you’re chipping away the rough bits to reveal a masterpiece.
Let’s be honest, nobody’s perfect. Remote recordings can be a minefield of background noises, awkward pauses, and those little verbal tics that suddenly become glaringly obvious when you’re listening back. Your job now is to be the audio surgeon, carefully snipping out the distractions. This means hunting down and eliminating:
The goal here is to make your podcast sound clean and professional, without sounding over-edited. It’s a fine line, but you’ll get the hang of it.
Ever listened to a podcast where one person is booming while the other sounds like they’re whispering from another room? Yeah, not ideal. Post-production is your chance to level the playing field. You’ll want to adjust the volume levels of each speaker so they’re consistent throughout the episode. This is where a good Digital Audio Workstation (DAW) comes in handy. Software like Audacity or GarageBand can help you normalize audio, meaning you bring the quiet parts up and the loud parts down. It’s like giving everyone their own personal sound engineer.
You’re aiming for a consistent listening experience. If your guests are using different microphones or recording in different environments, their audio levels will naturally vary. Your post-production work is what ties it all together, making it sound like you were all in the same room, even if you were miles apart.
Now that your core audio is sounding spiffy, it’s time to add those finishing touches that give your podcast its unique flavor. This includes:
Don’t forget to check out some of the great cybersecurity podcasts out there for inspiration on how they use these elements. Shows like “Darknet Diaries” often have really distinctive intros and outros that set the tone perfectly.
Remember, the goal of post-production is to polish your raw audio into something engaging and enjoyable for your listeners. It takes time and practice, but the results are totally worth it.
Alright, you’ve wrangled your audio, wrestled with the editing software, and somehow emerged victorious. Your podcast episode is ready to face the world! But wait, how does it actually get to people’s ears? Don’t worry, it’s not as complicated as assembling IKEA furniture (usually). This is where you take your creation from your hard drive to the digital airwaves.
Think of a podcast host as the landlord of your podcast’s digital apartment building. They store all your episodes and create the magic RSS feed that tells apps like Spotify, Apple Podcasts, and Google Podcasts where to find your show. You’ve got options, from free-tier services that are great for starting out, to paid platforms that offer more bells and whistles like detailed analytics or better storage.
Some popular choices include:
When picking, consider your budget, how many downloads you expect, and what kind of stats you want to track. Most platforms offer a free trial, so poke around and see which one feels like home.
So, you’ve published. Hooray! Now, crickets. That’s where promotion comes in. You can’t just build it and expect them to come, unfortunately. You gotta let people know your awesome podcast exists!
Here are a few ways to get the word out:
To help you keep all this straight, we’ve put together a handy checklist. Print it out, stick it on your wall, and use it as your guide from recording to publishing. It’s like having a podcasting co-pilot, but without the tiny airplane snacks.
This checklist is designed to simplify the entire process, ensuring you don’t miss any critical steps. It’s your go-to resource for staying organized and confident as you launch and grow your podcasting journey.
Remote Podcast Publishing & Promotion Checklist
Phase 1: Pre-Publishing Prep
Phase 2: Publishing Day
Phase 3: Promotion & Engagement
Phase 4: Ongoing Growth
Ready to share your own amazing work with the world? Getting your ideas out there is the first step to making a real impact. Don’t let your masterpiece stay hidden! Visit our website today to find out how you can start publishing and sharing your voice with a wider audience. Let’s get your story heard!
Alright, so you’ve made it through the nitty-gritty of remote podcast recording. Pretty wild, right? It’s not exactly rocket science, but it’s also not just hitting ‘record’ and hoping for the best. You’ve got your checklist, you’ve picked your weapon (software, that is), and you’re ready to wrangle some audio from afar. Just remember, even if things get a little messy – maybe your co-host’s cat decides to join the conversation, or the internet does its usual flaky dance – you’ve got the tools to make it sound good. Now go forth and record something awesome, you podcasting wizard!
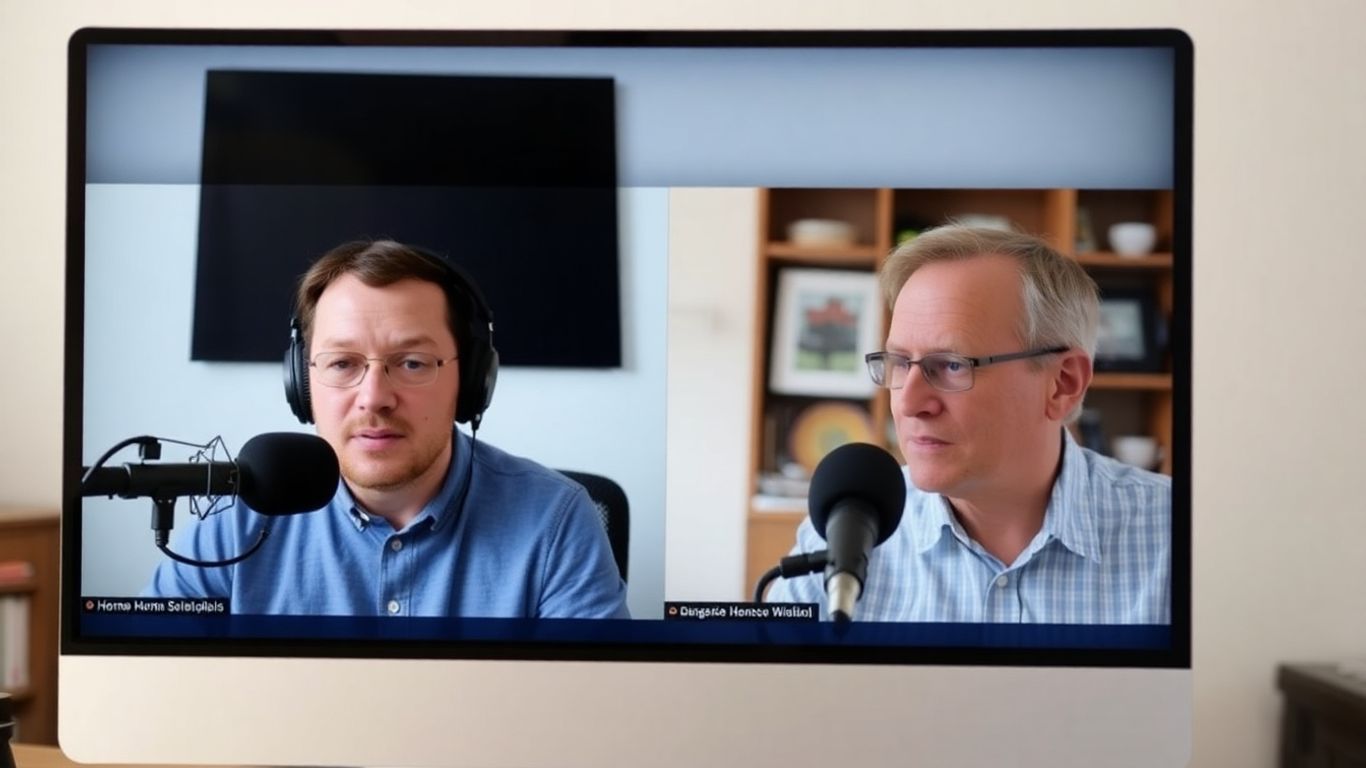
The simplest method is to use special software designed for remote recording. These tools, like Riverside.fm or Descript, let you invite guests with just a link. They record everyone’s audio and video right on their own computers, so even if the internet is spotty, your recording will still sound great. It’s like having a virtual recording studio!
Not necessarily! While a good microphone makes a big difference, you can start with what you have. Using headphones is super important to avoid echoes. If your guest doesn’t have a great mic, some editing software can actually make their voice sound clearer and more professional, almost like they were in a studio.
That’s a common worry! The best remote recording software saves the audio directly on each person’s computer as they speak. This means that even if your internet cuts out for a bit, the recording itself is still safe and sound. It’s like having a safety net for your audio.
You sure can! Many apps allow you to record audio directly on your phone. For better quality, try to find a quiet spot, speak close to your phone’s microphone, and wear headphones. Some apps even let you record video too. You can then transfer the audio to your computer for editing.
Yes, it is! Many video conferencing tools, like Zoom or Google Meet, let you record your calls without charging anything extra. Some podcasting software also offers free plans or trials, though they might have limits on how long you can record or the quality. For top-notch sound without paying a lot, you might consider using the free versions of these tools.
To get the best sound, make sure everyone uses headphones to prevent audio from playing out loud and causing echoes. Also, try to record in the quietest place possible, away from background noise like fans or traffic. Doing a quick sound check before you officially start recording helps catch any issues early on.
